Underground dog fences are also known as invisible dog fences.
The fences are an effective solution for keeping your dogs in the safe zone yet allowing your backyard to appear open.
They use the underground wire system that transmits the electric shock to the shock collar whenever your pet approaches the invisible boundary.
You can install an underground dog fence in a couple of hours, but it requires effort and a good dog training process to work optimally.
Although the underground dog fences require dedication when installing, they’re better than the traditional above-ground fence constructions, making your dog safer and more accessible.
But how to install an underground dog fence? Read the guide below.
Table of Contents
- How to Install an Underground Dog Fence? The Complete Procedure
- 1. The First Step: Planning the Electric Dog Fence
- 2. The Second Step: Beginning the Setup
- 3. The Third Step: Training Your Pet
- a. Place the shock collar around your dog’s neck to get used to it
- b. Keep the dog on a leash and train every hour
- c. Pull the dog back once the collar starts beeping
- d. Allowing the dog to feel the limit on the following days
- e. Praise and reward the doggo whenever they stay away from the wire
- f. Obliterate the collar and leash when the dog learns the limits
- What About Existing Fences?
- Frequently Asked Questions
- How deep should an underground dog fence be buried?
- Does an invisible dog fence have to make a complete loop?
- What is the cost of installing an underground dog fence?
- What tools do you need to install an underground dog fence by yourself?
- What is the double loop layout, and why do I need to do it?
- How do you cancel and outbreak parts of the underground fence for dogs?
- So, How to Layout an Underground Dog Fence? – Conclusion
How to Install an Underground Dog Fence? The Complete Procedure
As I’ve mentioned, installing an invisible fence requires your time and energy.
However, the in-ground dog fence will show the best results once you finish the setup and train your puppy correctly.
There are three main steps when installing and using the underground fence, and we’re going to describe them one by one.
Are you ready? Let’s begin.
1. The First Step: Planning the Electric Dog Fence
a. Planning the precise confines of the property to contain your dog

This plan will allow you to determine and purchase the exact size of the boundary wires necessary for the construction.
You will have to plant the marker flags around your property to mark the spots where you will eventually lay the boundary wire underground.
An underground dog fence is productive since it lets you plan and determine all oddly-shaped yard spots, whereas the above-ground installation usually requires a straight line setup process.
In addition, the underground dog fence wire prevents your dog from escaping and running away or keeping them in the safe zones.
For instance, you can lay an underground wire around a hot tub or a garden.
But, you will have to mark the underground utility lines as well. Then, you can call 811 and have your underground utilities checked.
If you have a septic system or gas cylinders, you have to mark them.
Finding the utility line will make your job easier when installing the fence at four feet distance in between.
You should also find and highlight the sprinkler systems, lightning lines, and other utilities to prevent damaging them when installing and using the fences.
b. Measuring the size of the property
You can use a broad tape measure and take notes of the exact size of the land you want to install the electric dog fence.
Don’t measure your house, as the dogs cannot break through it.
However, the precise measurements ensure you don’t spend more money than needed and buy more wire than required.
c. Purchasing the transmitter box, dog’s collar, and the boundary wire
You can find all these units in the local hardware store.
Most underground dog fences come with the complete kit and are productive everywhere in the range between 25 to 500 acres, depending on the potential of all components.
However, it would be best to examine the dog fence kit and learn if it offers enough wire to surround the complete area.
d. Finding a proper place for the transmitter and grounding it
Don’t install the transmitter near appliances, breakers, or similar electrical interferences. It would be great to install it near the power outlet and protect it from all-weather elements.
You can keep it on your garage wall, away from anything that may affect the electronic dog fence system.
Many transmitters can be mounted on the garage wall, ideally with the hardware kits.
Use an advanced extension cord if you cannot mount it near the power outlet.
It would be best to ground the transmitter and prevent severe damage by separating the mechanism from other power sources.
However, you must refer to the instruction manual that comes with the transmitter.
In addition, ensure you apply a surge protector to make the dog fence stays on, working correctly during the electrical circuit or electrical interference.
When the power goes out, ensure you bring the dog back inside until reactivated by the underground fence.
Do not place the transmitter in a shed or barn. Due to lousy installation and weather elements, it might cause fire or electric shock.
If you need to cross brick, concrete surfaces, or asphalt, use the circular saw with patching elements and a masonry blade to match the exterior.
The masonry blade will help you run the wire through these surfaces successfully.
You might also use an extra transmitter of the same brand as the main loop one and make a smaller distance-based signal area instead of the existing barrier.
But what if you have to install a transmitter outside? You can purchase a weather-resistant box. Then, you can match it with the sprinkler system.
You can find these in most hardware stores and electrical departments. And, you can mount them quickly when following the instructions.
2. The Second Step: Beginning the Setup
a. Laying the wire above the ground to follow the flag line
Starting from the transmitter, lay the first wire at the bottom of the fence.
Lay the wire in a straight line, and ensure you’ll have enough to bring it back to the starting point.
Ensure you round off all 90-degree angles, or the transmitter cannot recognize the sharp turn. The fence won’t be effective.
Do not twist the wire, as the radio signal cannot reach the control box and vice versa, so the fence won’t be productive when your dog approaches the boundary wire.
Adjust the fence’s boundary width or move a wire further from the exterior walls if you detect the signal indoors.
Use the twisted wire to create a continuous loop starting and ending simultaneously. Next, apply a twisted wire to connect the boundary wire and the transmitter.
The twisted wire allows your puppy to cross it over without any correction when used in this way.
Avoid placing the wire close to the chain-link constructions.
For smaller properties, many dog owners use either 14 or 16-gauge wire instead of the 20-gauge wire, as the latter is more fragile and thin than the first two versions.
It may be more expensive, but it’s more quality.
Sometimes your fence serves only to prevent your dog from escaping. So, you can run a small loop around the area and separate the wires at least two to four feet.
But, for those who like to leave their patio gates open and still prevent dogs from running out, they can apply double loop layouts instead of a single loop.
A complete back and front yard loop are also possible when you twist wire ends together and cancel the signal out between the cords.
It will let your dog in between the front and backyard.

b. Connecting the wire to the transmitter & testing the dog’s collar and the system
You don’t have to lay the wire underground to test the mechanism.
You can attach the ends of the wire loop to the transmitter and turn it on when they’re adequately plugged in.
After attaching the receiver collar, you should walk over the wire in multiple directions. When the shock collar is too close to the boundary wire, you should hear a beeping sound.
Of course, you mustn’t wear the shock collar when testing it, nor must you touch the metal to feel the shock.
Although gentle, the electric shock will be uncomfortable, and it will beep to show it’s working optimally.
c. Digging 3 to 12-inch deep trench along the flag line
You’ll need a gardening trowel, shovel, or power edger to create the thin trench to lay the wire. Please do not move the flags, as they can help you with the initial training sessions.
Also, do not dig too deep into the ground; otherwise, the transmitter cannot receive the wire signals when the dog oversteps the boundary wire.
Another option is to lay the boundary wire on the grass along the flag line for the same effect. Yet, you can unintentionally cut it with the lawn mower.
So, the buried wire is always a better option.
Remember that some systems require an advanced grounding system to prevent lightning strikes and power surges.
So, it would be best if you adequately ground the fence to protect it from damage.
d. Placing the wire underground, covering it with dirt & testing it again
Go around your property and ensure you cover the buried wire entirely with the soil and land you previously excavated.
Please don’t leave any wire above the ground so as not to damage it.
Next, please test the mechanism in different spots across the entire property to ensure productivity and get ready to train your dog.
If you decide to keep the boundary wire over the ground, make sure you keep it out of sight and as close to the ground as possible.
3. The Third Step: Training Your Pet
a. Place the shock collar around your dog’s neck to get used to it
Ensure the collar fits their neck size and is comfy for wearing. It must not hurt them.
When the dog doesn’t respond to the collar, it would be better to buy a stronger collar or the one with multiple settings to keep the dog inside the safe zone when training.
When the dog still doesn’t react, consider obtaining a collar with the citronella spray when they cross the boundaries. It may be more effective for larger dogs.
b. Keep the dog on a leash and train every hour
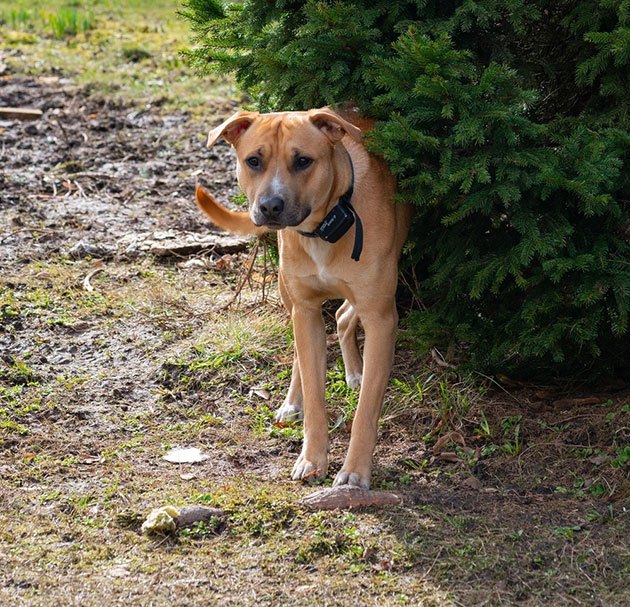
Take them to all areas of the property to show it’s OK to roam around. When not training, remove the collar and the leash.
You will need around eight days to finish the training process. And do not let them cross the limit, or you’ll have to start from scratch.
c. Pull the dog back once the collar starts beeping
Don’t let them go further off-limits, and return them inside the pet zone. This will teach the pet to go back whenever he hears the beep.
Also, the dog will recognize the boundaries due to flags as the best visual reinforcement. Therefore, please don’t remove them until the dog knows the limits.
d. Allowing the dog to feel the limit on the following days
Repeat the procedure for a couple of days, with and without the leash and collar. It will teach your puppy where the limit is, and he will come back alone in the safe zone.
If they still cross the line, pull the leash back quickly, but they should know when to stop at this point.
e. Praise and reward the doggo whenever they stay away from the wire
Always treat and praise them when they return, either with or on their own.
Use the straight directions and always praise and reward them for respecting the boundaries properly.
f. Obliterate the collar and leash when the dog learns the limits
After a couple of days, the dogs should be ready to play and explore the world inside the safe zone. Once that happens, you can altogether remove the leash and the collar.
However, you still have to supervise their movements, not cross the limits.
If dogs don’t respond, practice as much as possible until they learn.
Change the collars for better response and regularly maintain and replace the batteries. They will last between three and six months, after which you need a correct replacement.
What About Existing Fences?
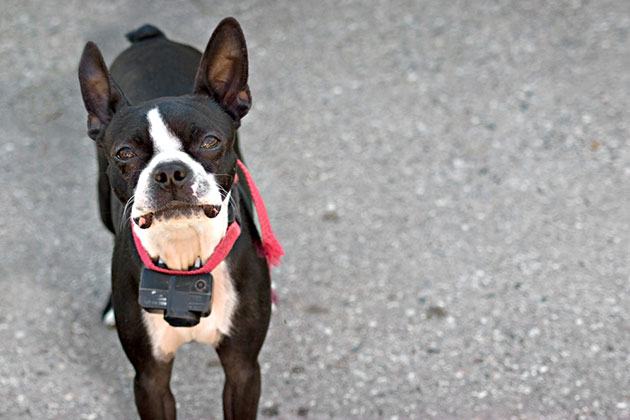
When you already have an existing fence and need to prevent your dog from jumping over it or digging below, you must determine its place first.
Is it in your backyard? If yes, you can apply a double loop on the existing fence.
This is how it works: you will run the first wire at the fence’s bottom, starting from the transmitter.
Next, you will return to the transmitter and run the wire along the fence’s top. It will separate your wires by four feet, returning to your transmitter.
Frequently Asked Questions
How deep should an underground dog fence be buried?
Most invisible dog fences should be installed between one and six inches from the ground.
However, many dog owners recommend burying the wire three to five inches in the background.
But many manufacturers require lesser or deeper placement, according to the wire models and other instructions.
Does an invisible dog fence have to make a complete loop?
Yes, it has to make the invisible fence work optimally. However, you should also look for other variables when making the complete loop.
The first thing to consider is finding the underground utilities, marking them, and determining how to install and place the wiring system correctly.
If not, your fence won’t be effective at all.
What is the cost of installing an underground dog fence?
When installing such a fence, you need to prepare a considerable amount of money. Typically, the cost ranges between $950 and $1500.
Among other qualities that define the price, such as design, durability, reliability, resistance, etc., the essential one is the quality of the wire.
The better the quality, the greater the price will be.
What tools do you need to install an underground dog fence by yourself?
Here are the required tools for a proper setup process:
- trencher or shovel
- water-resistant wire splicers
- wire stripper or cutter
- hand-weeder.
What is the double loop layout, and why do I need to do it?
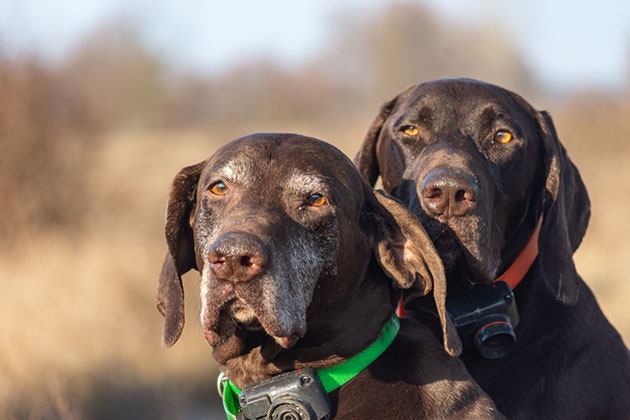
The double loop layout is a specific wire loop used to confine only the front or the backyard.
Generally, it’s used only when the property’s terrain doesn’t allow the installation of the fence around the whole property.
How do you cancel and outbreak parts of the underground fence for dogs?
The best and the only way to cancel out and break the part of an underground dog fence is by twisting two boundary lines together.
In addition, when you take the wire emitting the signal to your transmitter, you will estimate and determine the exact spots in the area where you want to let your dog pass through unharmed.
So, How to Layout an Underground Dog Fence? – Conclusion
When installing an underground dog fence, you don’t have to bother with traditional fences and won’t need to worry about potential risks and escaping.
In addition, the fence boundary will be as effective as the above-ground models and, even better, as your dogs safely return to the safe zone once reaching the boundaries.
However, these models require physical labor and too many training sessions to teach your dog to respect the limits.
But, the systems give them much freedom, unlike the visible structures.
So, be patient and practice how to install an underground dog fence until both of you succeed. Otherwise, the invisible constructions won’t be working properly.
